Goal
Have the upsun CLI installed and authenticated in the web container.
Problems
Using the CLI directly from the web (application) container can be required to automate certain tasks. Many tasks that used to require this (like renewing the TLS certificate or snapshotting the environment), are no longer requiring the CLI. In stead they are integrated into the product as a whole.
However, there will still be use cases that might require it. And due to the non-interactive deployment flow, using a regular username and password authentication is not possible. We will use token-based authentication to have the CLI installed and configured on each deployment.
Steps
0. Create a dedicated account to use for automated tasks
This step is optional, but _ strongly recommended_: for automated tasks, a dedicated user should be created and added to the project. If a token is added to user that is later removed, the token will be non-functional. Note: Adding an API token to a project is a security risk, as it means the token will be visible to the other project members who have SSH access, so they will then also have access to the token’s account.
1. Create an API token
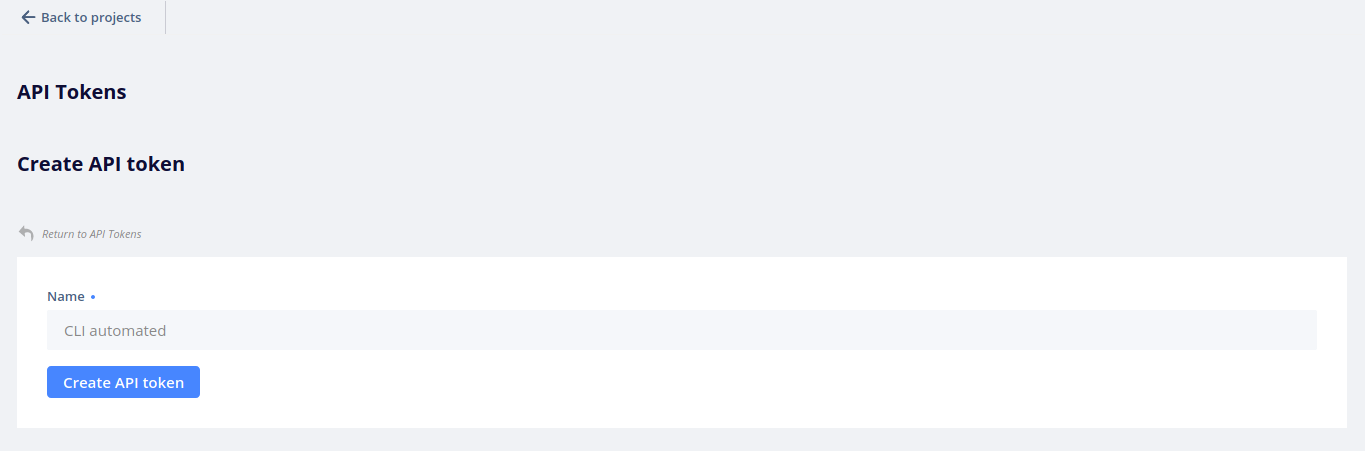
Log in and navigate to Account settings > API tokens, available here. Click on Create API token.
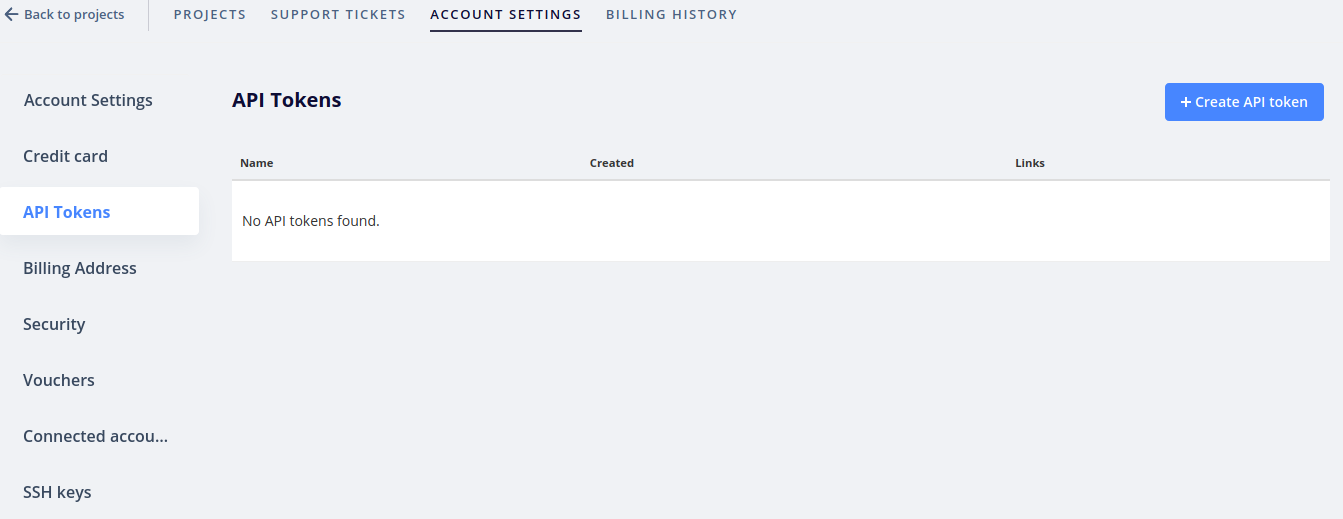
You will be asked for the token name - enter a name to easily identify your token in the future, in case of multiple tokens (CLI automated is one example). Click on Create API token to save the token.
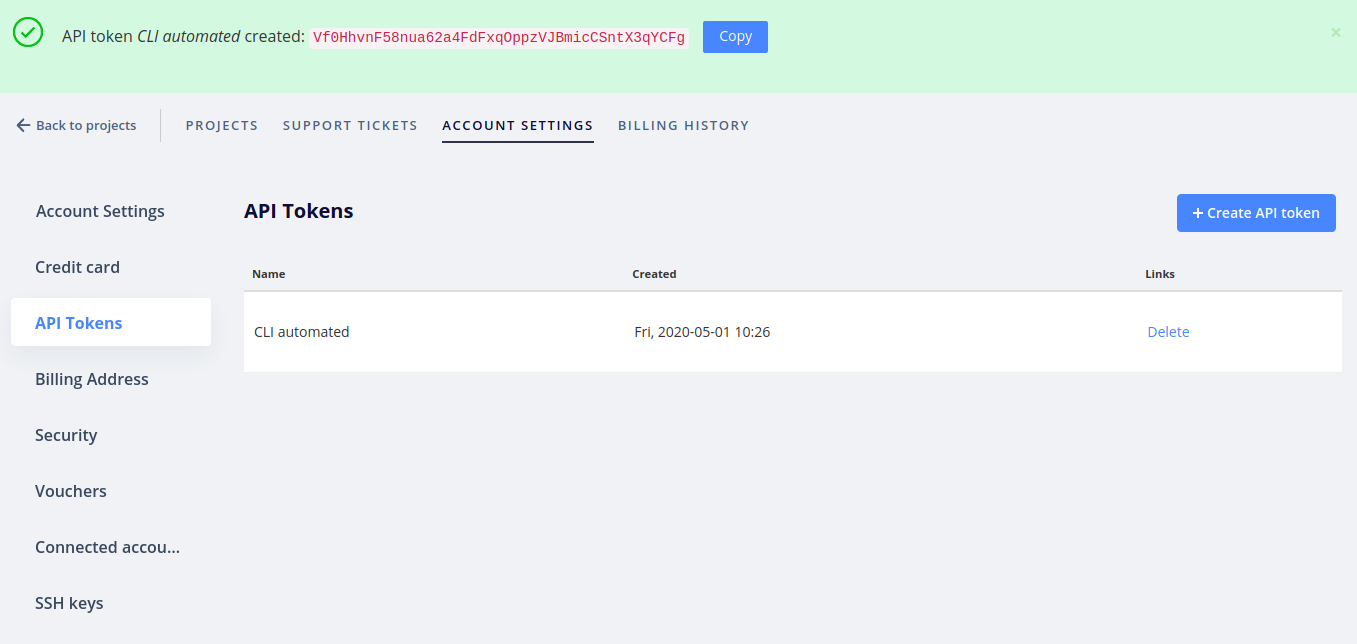
Once done, the newly created token will be displayed at the top of the page, and can be copied to the clipboard using the Copy button. After this, you will not be able to view the API token again.
2. Add the token as an environment variable in the project
Once the API token is added as an environment variable in the project, it will be automatically detected and used by the CLI tool. After the installation is done, you should see the UPSUN_CLI_TOKEN variable when running env.
-
Option 1: Using the web interface
Open the project web interface and navigate to the environment in which you want to use the CLI, then click on
Configure environmentand go to theVariablestab. Add a variable namedenv:UPSUN_CLI_TOKENand set its value to the previously created token.
-
Option 2: Using the CLI
If you have the CLI tool installed and configured, you can add the variable from the command line:
upsun variable:create -e <ENVIRONMENT_NAME> --level environment --name env:UPSUN_CLI_TOKEN --sensitive true --value <TOKEN>
Replace the
<environment name>and<token string>with the correct values for your use case.
3. Install the CLI tool in the application container
Once the variable has been added to the environment, it is required to download and install the CLI tool in a build hook.
Modify .upsun/config.yaml in the project to include:
hooks:
    build: |
        curl -fsSL curl -fsSL https://raw.githubusercontent.com/platformsh/cli/main/installer.sh | VENDOR=upsun bash
This will download the CLI to a known directory, .upsun/bin , which will be added to the PATH at runtime (via the .environment file).
Redeploy your environment and log into the application container with SSH.
You can then run the upsun cli command. You should see the welcome prompt and a list of your current projects.
Conclusion
Having the CLI tool set up in an environment opens up further automation possibilities
Comments
Please sign in to leave a comment.